Web Server Installation + Database
Installation
- Log in to SSH.
- After logging in, run the command:
skillhost
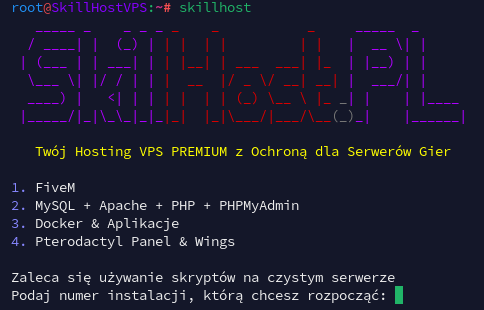
WARNING:
If you encounter the error curl: command not found, install curl by running:
apt install -y curl
Then repeat step 2.
- Enter number 2 and confirm by pressing Enter.
- After successful installation, you will receive credentials for the MySQL user and a link to PhpMyAdmin.
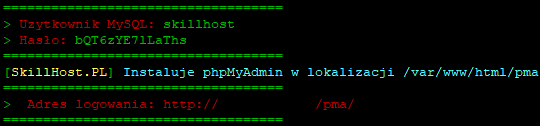
Congratulations! You have installed your web server and database!
Creating Databases
- Log in to PhpMyAdmin using the link and credentials obtained during installation.
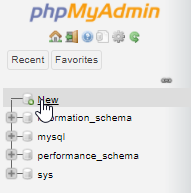
- In the left panel, click „New”.
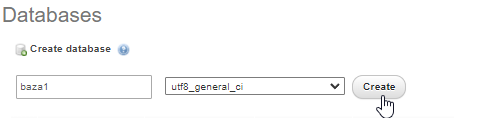
- Enter the database name and confirm by clicking „Create”. (You can skip this step if you only need one database — the auto-installer creates the SkillHost database automatically).
- External connections are disabled by default!
Congratulations! You have just created your database!
Importing a Database
- Log in to PhpMyAdmin, select the database where you want to import a backup, then go to the „Import” tab.

- Click „Choose file”, select your database file, then confirm the import by clicking „Go”.
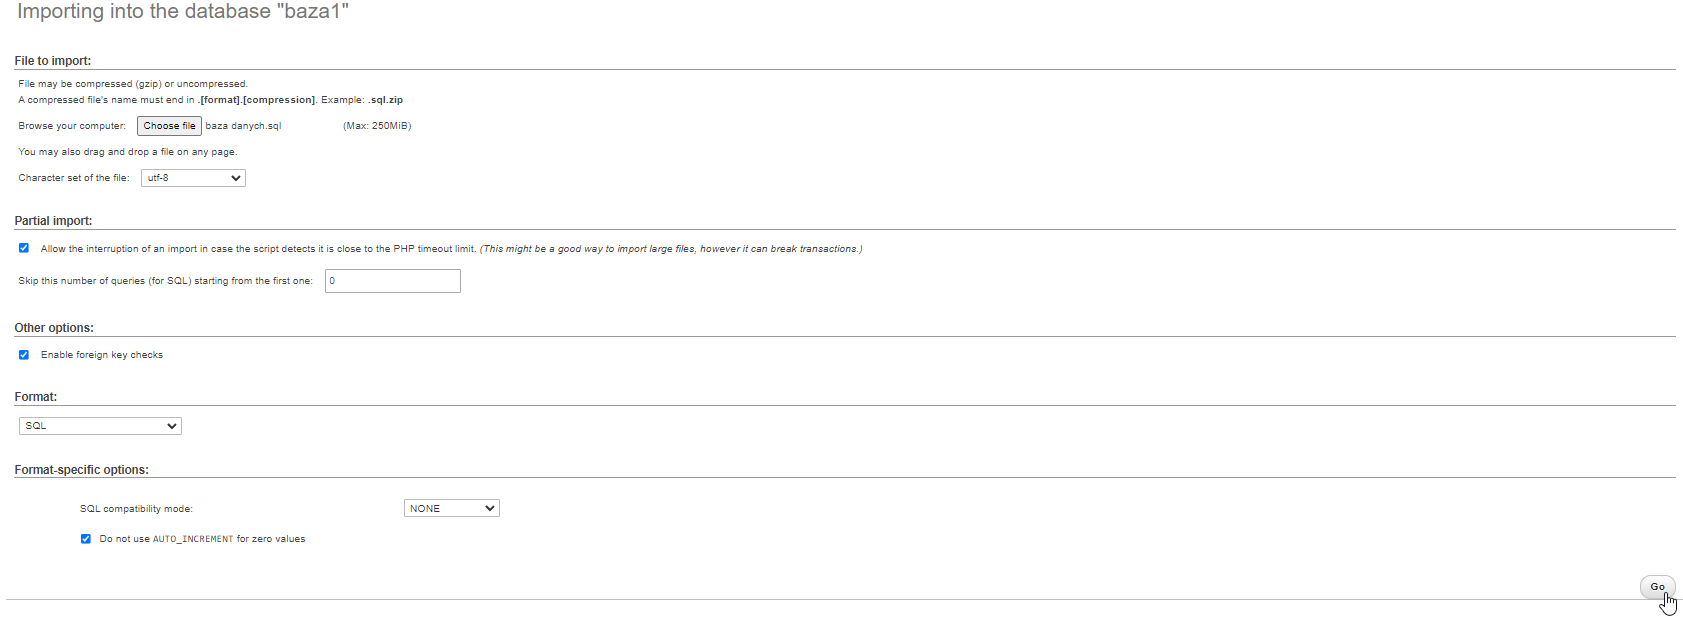
- After a successful import, you will see a confirmation message.

Congratulations! You have just imported your database! '
Changing PhpMyAdmin Password
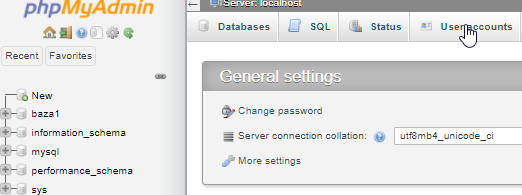
- Log in to PhpMyAdmin and go to the „User accounts” tab.
- Select the account whose password you want to change and click „Edit privileges”.
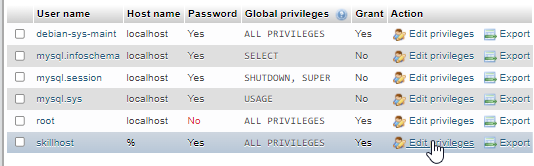
- Click the „Change password” option.

- Enter the new password twice and confirm by clicking „Go”.
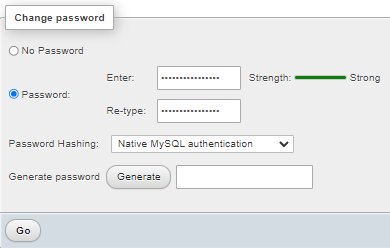
WARNING:
Make sure that Password Hashing is always set to Native MySQL authentication.
Congratulations! Your password has been changed!